Posts

Assignment 3 (Part 2)

Image
Reflection- Bowls, Trays and Everyday Tools Industrial Design 1- Clamp Desk by Paul Coudamy and Benoit Coulondres. This takes the idea of a storage vessel, which would of traditionally been a tray or a bowl and adapts it for a modern workspace, taking into account privacy (closed box) and space (giving the ability for 3 dimensions to act as a surface/hanging). 2- Saucer by Eric Degenhardt beautifully shows what subtle raised edges can do to the versatility of a product. Here he takes it one step further and makes it the centerpiece of a product who's only purpose is to store. 3- My shallow bowl, In between the depth of a conventional bowl and the flat surface of a tray 4- This collection by Nendo aims to create a series of bowls that- due to how shallow they are- can be easily stored in tight modern living spaces thanks to the ability of being able to be hung. 5- Soe Cup Series by Hanna Kruse. A super interesting take (Japanese flower arrangi

Assignment 3 (Part 1) - Shallow Bowl

Image
Step-by-Step Process of Making a shallow bowl Step 1: Cutting the Sheet .Take a sheet of Aluminium, (for this exercise it's preferable to have aluminium that has not been annealed) cut out a sheet which accommodates the desired size of the finished bowl (for this example I used a small sheet which was 15cm in width and height) Step 2: Measurements and Cut of shape With a ruler, draw a line diagonally from one corner to the other and repeat. Where the 2 lines meet will be the center point. With a Compass (preferably) draw out from that central point and go as close to the edges as possible. Cut the circle shape with metal cutting scissors.    (For larger bowl making it's advised to mark out evenly spaced rings on the bowl blank, but for a smaller piece like this we won't bother). Step 3: Using the Wooden Mould The first initial hits should be done with the help of the pre-made wooden mould. This allows us to work from a domed shape making

Assignment 2

Image
The Mould: Each group received an STL file of the car which, after slicing, was able to be separated into 'parts'. 3mm MDF sheets were bought from the workshop which were then put into a Laser Cutter. Once cut out we were able to assemble our templates as they slotted into one another, forming the car. We then carefully covered the car with tape which allowed us to understand the shape of each section in more detail. My Group of 5 decided to divided the car in parts that were either of similar form or location in order to create the car body in the most precise and efficient way, in my case I took responsibility for the roof and the back. Part A: Roof Steps: 1.) Using a large ruler, measure from the top to get rough dimensions of the roof panel.      Be sure to leave 5-15mm of additional length at every point on measure, as it's easier to cut down excess material than too try and stretch the aluminum out. 2.) Cut a piece of pre annealed al

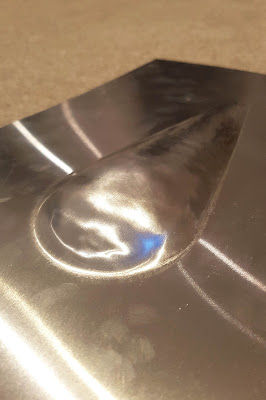
Finished Blister

Image

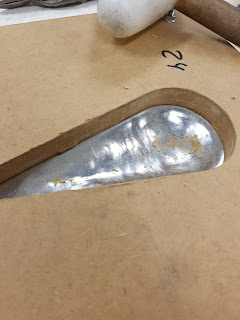
Blister Progress Shots

Image

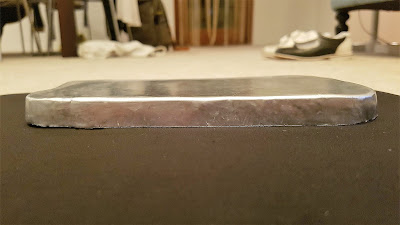
Finished Tray

Image

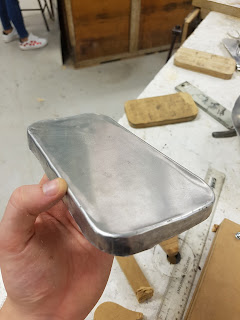
Tray Progress Shots

Image