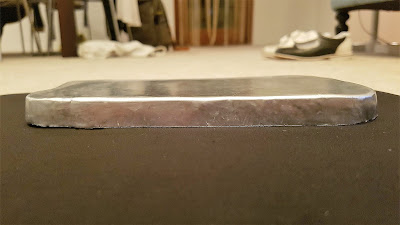
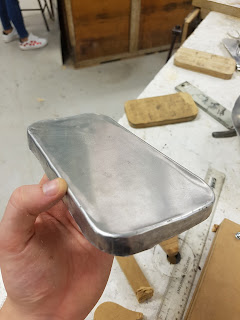
Assignment 3 (Part 1) - Shallow Bowl
Step-by-Step Process of Making a shallow bowl


Step 1: Cutting the Sheet
.Take a sheet of Aluminium, (for this exercise it's preferable to have aluminium that has not been annealed) cut out a sheet which accommodates the desired size of the finished bowl (for this example I used a small sheet which was 15cm in width and height)

Step 2: Measurements and Cut of shape
With a ruler, draw a line diagonally from one corner to the other and repeat. Where the 2 lines meet will be the center point. With a Compass (preferably) draw out from that central point and go as close to the edges as possible. Cut the circle shape with metal cutting scissors.


(For larger bowl making it's advised to mark out evenly spaced rings on the bowl blank, but for a smaller piece like this we won't bother).
Step 3: Using the Wooden Mould
The first initial hits should be done with the help of the pre-made wooden mould. This allows us to work from a domed shape making results as accurate as possible to begin with (and keep us on the right path)
I prefer using the smaller end of the rubber headed mallet at this stage because it transfers as much power as possible onto the aluminium sheet, creating a worked shape as quickly as possible.
(For this tutorial we are aiming on a shallow bowl, so strong hits to the center of the aluminium are not advised, as well as over working- remain calm, and don't hit too hard!)


Step 4: Using the Sandbag
Once a bowl shape appears obvious, transfer your work onto a sandbag.
Loosen the sand and hit your mallet into the center to create a convex working surface on the bag.
Turn the mallet over and start to use the larger hitting end- this transfers less hitting power in any one spot which flattens and creases without the risk of major deformations.


Step 5: Using the English Wheel
The bowl's form should now be fairly accurate- the major thing to fix now will be the symmetry of the Bowl as well as the bumpy surface.
Set the English Wheel so there's an obvious resistance to first push the bowl in, slight force should be required, proceed to rotate the bowl evenly moving it across it's whole body, from edge to edge.
(Be careful not to overwork this step!)


Step 6: Fixing the Shape
Overworking on the English Wheel is common, if dis-formation has occurred go back to Step 4 (on the sandbag) to make the bowl evenly stretched.
Step 7: Finishing touches
Now to tidy the bowl up, options you have include; sanding the top edge, sanding the entire surface of the bowl and polishing the surface of the bowl.
This step is optional and can be done as much as desired for optimal results.


Comments
Post a Comment